So just a note that this is my first post. I have no archives to search yet. And my best friends and my husband are my only followers I'm okay with that. And I finally started this after reading
Miss Mustard Seed's blog. She has an amazing story and you should check it out. Now down to business.
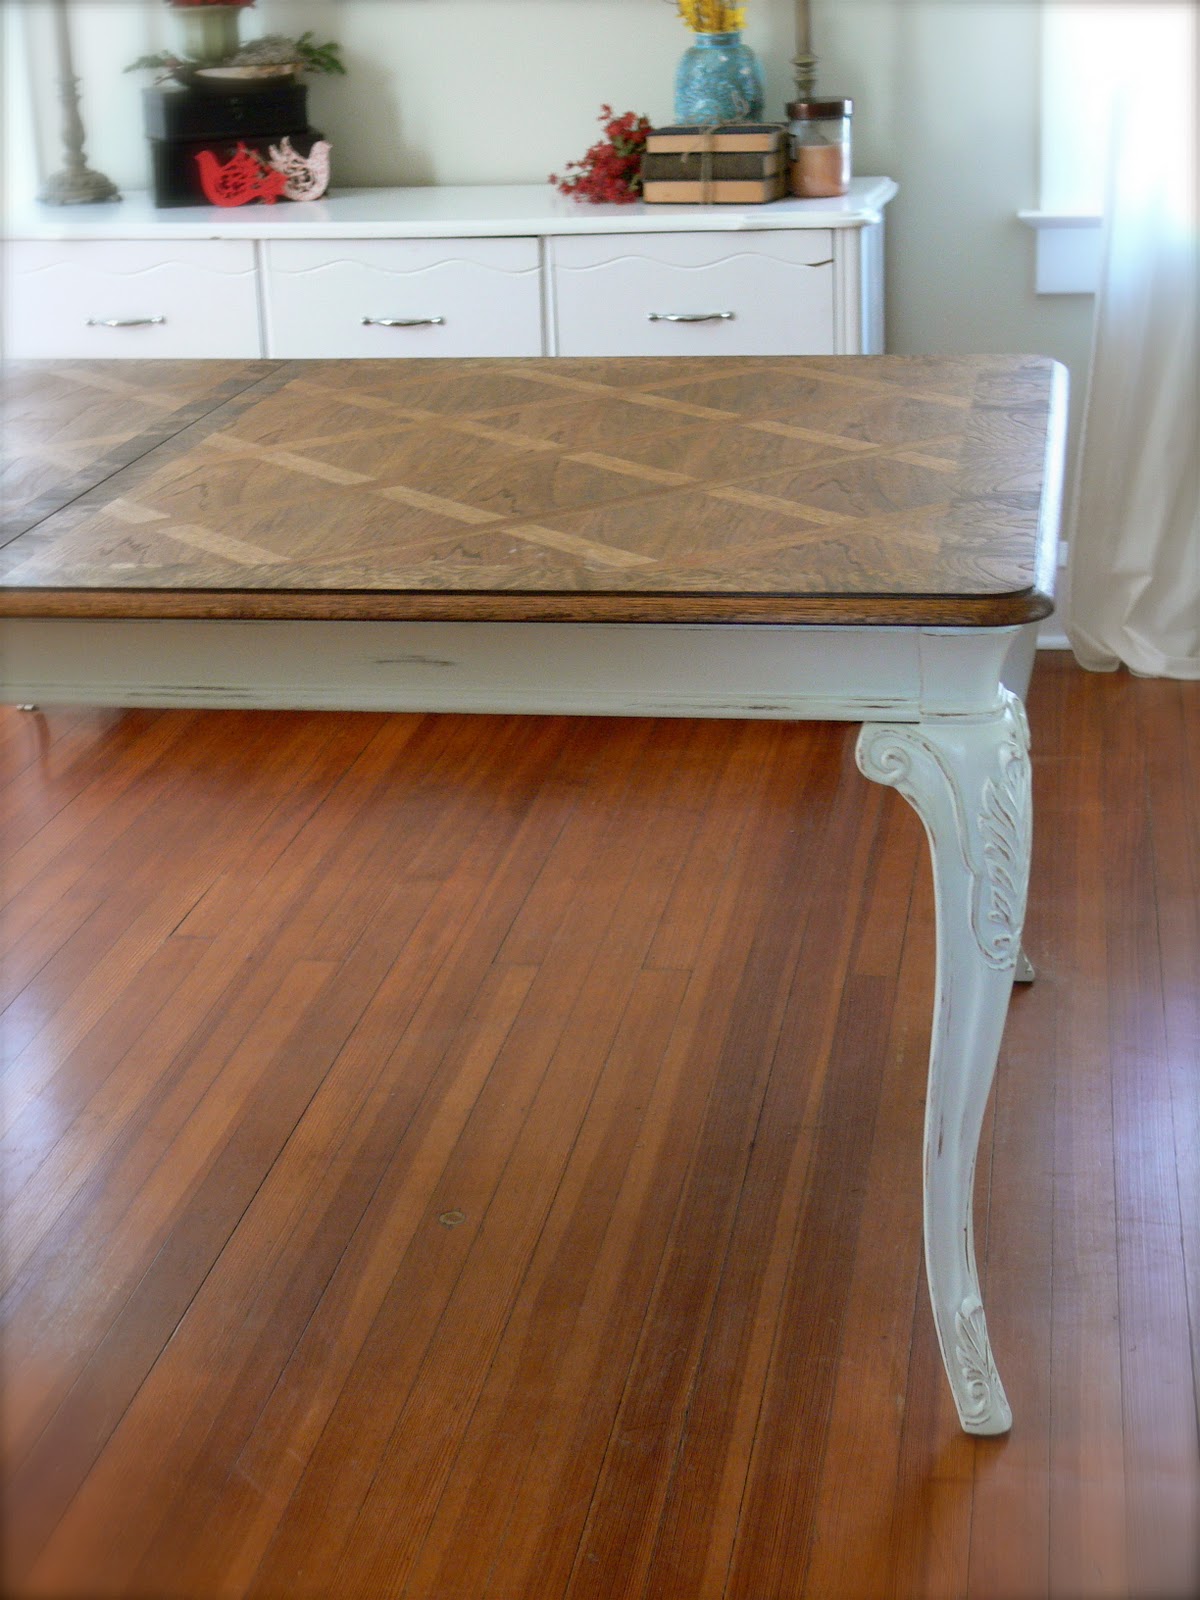
I've been wanting this table for a while. Not this "type" of table, but this very table. Before we ever met, I knew EXACTLY what I wanted, and I kept my eye out for what seemed like a zillion years. I finally found this beauty at the ReStore buried under a bunch of junk:
Price tag? $80. After waiting til just the right time, and the best bargaining of my LIFE, I got her for $40. Yep. She's a beaut. I know. Just look at those legs. hot momma! seriously.
I should also just mention that this is the HEAVIEST table I've ever owned. Thus, this job took place in the dining room, and it was hard to get a good picture of the whole thing at once. But you can rest assured that the back end looks just like the front end. (not something you want said about you, right? :)
First, we sanded her down just to get the shine off. Then we gave her a coat of Aqua Bond. (This stuff is amazing. It adheres to ANYTHING and I L-O-V-E it.) Although it is pricey, but it is worth it... but it is pricey. Like $60 per gallon.... yark... (you could just use kilz or just sand it really well and not prime at all. )
I'm starting to get excited. I've been able to see this in my mind for weeks, and now it's starting to emerge for real, and I can barely contain myself.
Let me introduce you to three of my best friends. Floetrol (I'll get to that in a minute), my handy paint pail (you can tell she's been around the block a few times, but I don't like to judge) and of course, paint. I'm not a HUGE Behr fan, but on this project it really worked well.
I broke out the gallon of heirloom white that I had matched to the spray paint can at Home Depot. Here's a secret that I learned from
Kate: Floetrol.
It is amazing. I added it to the paint, and seriously, it was like painting with butter. I will never paint furniture without it again.
Check out the lack of brush marks here:
Unbelievable. It totally looks spray painted, right? Floetrol, how do I love thee? Let me count the ways....
All I have left to do now is distress this lovely lady, OH and a secret AWESOMENESS is happening to the tabletop so STAY TUNED!